Q: How can I take better pictures at night and in low light? -Holly G., New York, NY
A: Cameras get better and better at recording in low-light all of the time, but it’s admittedly not a good condition to photograph in. That said, there are a few things you can pay attention to that will work WITH the low-light scenario, instead of against it.
Of course, in low light, you increase the chance of motion blurring your image. To reduce it, lock your elbows in close to your body to steady the camera, and hold your breath while you press the button. And, in dim situations, it is especially important to pay attention to the angle of the light in relationship to your subject.
Here are a few fun ideas that should further improve your shots:
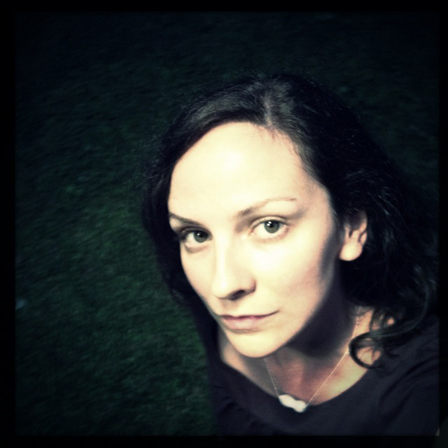
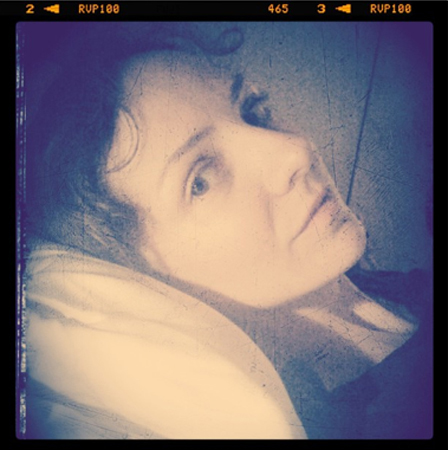
1) Angle your subject towards the light. I took this selfie under streetlight by angling my face straight up, and directly towards the light bulb.
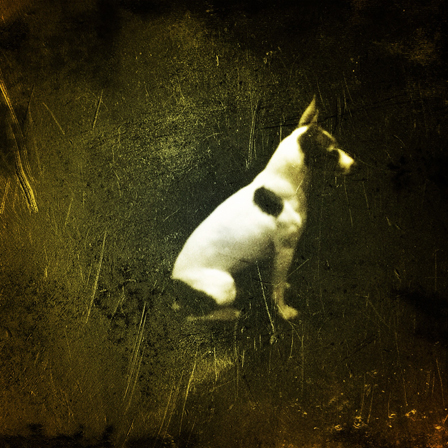
2) Wait for your subject to step into the light source (or place them there), and take advantage of the darkness around it. This little dog was sitting under a light — since he was the only thing illuminated, it created a dramatic contrast between him and the background. I also used some old-looking effects in King Camera to enhance the already grainy image. Snapseed has some great industrial and vintage effects for this purpose, as well. My philosophy is, if you can’t get a sharp image, work with the blur and make it moody.
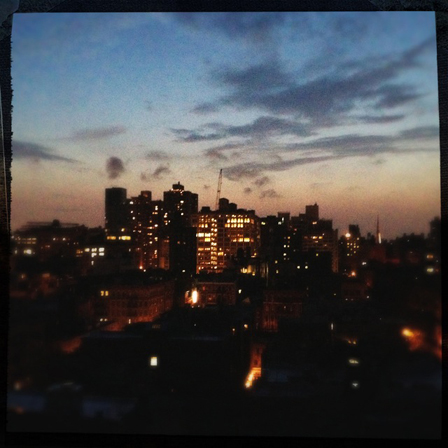
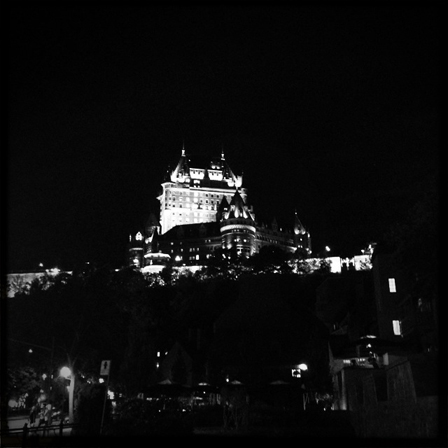
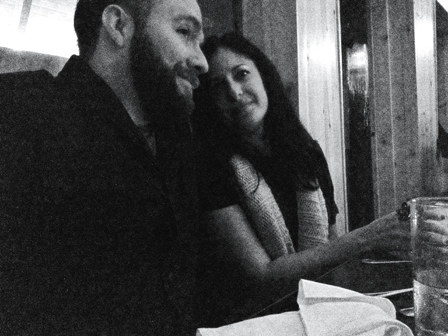
3) Paint with light. One thing that looks really cool at night is a skyline. You might not be able to capture your date in the dimly-lit restaurant, but at least you can record the view to remember the evening by.
4) Lamps are your best friend. When you’re at home, you have the advantage of being able to move your subject closer to a light source, or even move the light source itself! Smartphone cameras don’t have too sophisticated a metering system for adjusting it manually at this stage of the game, so it’s best to keep the light source facing your subject head on. This usually means the light is behind you, and the subject is facing both you and the light. In this selfie, I faced towards a lamp, and held the camera right next to it.
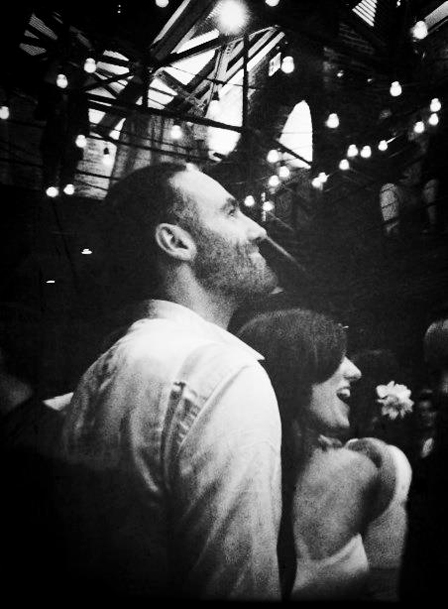
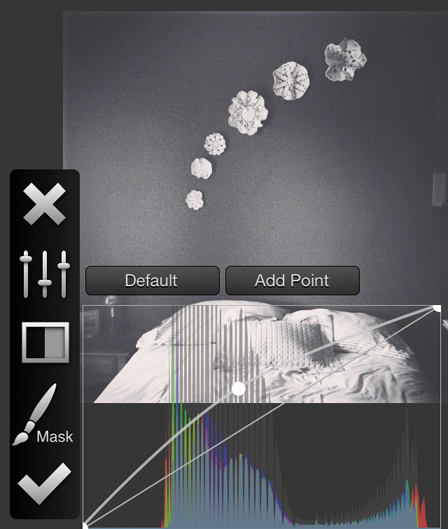
5) Make it black and white and boost the curves. You’d be surprised how much you can tease out of a really dimly-lit photo, if you’re willing to forego good color balance. First, convert it to black and white. Then open it in Filterstorm and use the curves function — tap the middle of the diagonal line and raise that point towards the top. You can even save and repeat this process, if the image is still too dark. (Screen-grab of curves demo below.)
There’s also a free iPhone app called Slow Shutter that’s fun to play around with for longer exposures. Hope that helps! Happy photographing!
Have a question you’d like answered on Q&A Mondays? Email [email protected].
